

So I have a slight obsession with unique jewelry. It all started a few years back when I wanted to make my girlfriends bracelets for the holidays. When they expressed how much they enjoyed them, I thought, "I could turn this into a small business". So I did for a year or two... and then life happened so, I recently stopped designing.
BUT - I will find any excuse to get back into it and make a little treat for myself friends.
My friend, Jennifer, came to me requesting I make the jewelry for her bridesmaids to wear on her wedding day. Lucky for me, I am one of them (So I get to keep a pair of these bad boys!).
My friend, Jennifer, came to me requesting I make the jewelry for her bridesmaids to wear on her wedding day. Lucky for me, I am one of them (So I get to keep a pair of these bad boys!).
With that being said, this DIY post is inspired by the making of the statement earrings that will be worn for my good friend's spring wedding. ENJOY!
 |
| These gorgeous earrings were my inspiration. By Auden Amelia II for $348 via ShopBop |
I will show you the materials I used and how I executed the DIY version of these amazing statement earrings. The best part? They were only $18!! You can use this technique with any statement earrings you have been dreaming of owning but your wallet is screaming, "Not a chance!"
First off - the supplies:

- various sizes of loose rhinestones
- stone settings the same size as your selected rhinestones
- rhinestone chain
- plated earring posts
- earring post backings
- stiffened felt
- super glue
- scissors
- exacto knife (if you need to cut out the center of your felt)
- needle nose pliers
- wire cutters
- pen
**Do not add the stone to your top setting just yet. we need to put the earring post through the back before the stone.

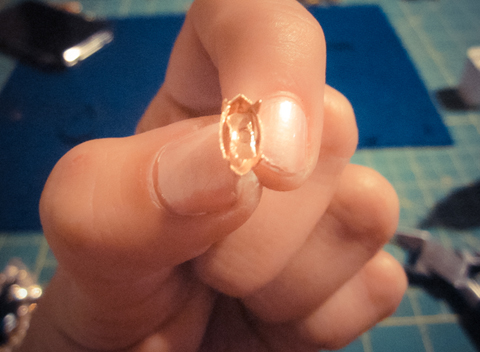
Place a small amount of super glue inside the setting before placing the rhinestone inside. Once your rhinestone has had a minute to dry, use your needle nose pliers to press down the tabs in front of the stone... like so...


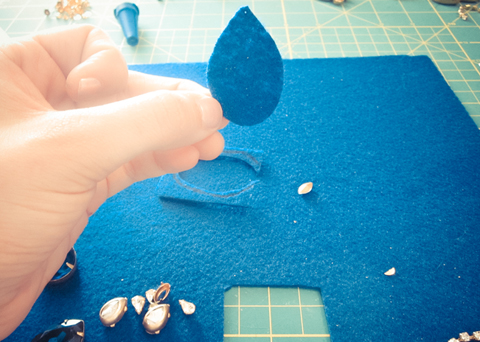
After you have placed all of the stones in their settings, begin to play with the placement of your stones on top of the sheet of felt.

When you are happy with the placement of your stones, gently trace around your stones.
Take your scissors and cut a few mm inside the drawn outline. This way, you should not see the felt backing once you place your stones on top.

Now, we are going to turn this felt into an earring! Take your top stone setting and your earring post and see how they fit with each other...

Once you have your post through the setting, add a small amount of super glue and insert your stone.

Allow your setting to dry for a minute or two. When your setting is dry, punch the post through the top portion of the felt cut out.

Begin to glue the remainder of your set stones on to the felt.


Measure out your rhinestone chain to finish off the bottom of the earrings and glue in sections as you wrap around the center stone.
Once you have completed your earring, trim the edges of felt with your exacto knife where it is needed... and ENJOY!
Resources:
felt & earring posts - Michaels


Excited you posted a DIY! I've been in love with those earrings since you first posted the pic was going to email you about making me a pair...now I can try it myself :0)
ReplyDeleteI can't wait to see the final result!
ReplyDeleteGreat idea! This will definitely be a unique touch that you’re sure no one will be able to buy off the market, unless they decide to copy the exact same pattern, which I hope they don’t. Or you can start a statement accessory business, where each piece is custom-made. You definitely have the chops for it.
ReplyDeleteShannon @ ASI
Thank you, Shannon! I am glad you like them!!
Delete