
 |
| Bell'Invito Paperie |

I love when my friends' birthdays come around. It is the perfect excuse to experiment with a new DIY and share it with all of you! My newlywed friend, Cori, had her birthday this week and what better way to celebrate her day of birth and new Mrs. status than showering her with monogrammed gifts?! My favorite part about this project is even after the stationary has been used, you still have the custom stamp to continue to put your name on e.v.e.r.y.t.h.i.n.g! Let's begin.

Where to buy:
**I purchased my paper supplies through Bell'Invito's DIY Paperie here.
I created my custom stamp with Photoshop (instructions below) and uploaded my design to Rubber Stamp Champ, here. It arrived within 5 business days.
Embossing supplies can be found at Michaels or Paper Source.

Part 1: Creating your monogram stamp
 Select your script font. I chose Mardian from Dafont (found here)
 If you are downloading your font, click on the download once it is complete and select the .ttf file. Then click install (same steps for PC users).
 Open Photoshop and create a new file. Set your resolution to a minimum of 300 to create a hi-resolution image.
 Insert a text box in the center of the file and type in the last name initial, in uppercase letters, with your font size set at 50pt
 Do the same for the first and middle initial on either side with your font size set at 35pt. Arrange the placement of the two outside letters as desired.
Save your file as a .jpg or .png (.png is my preference so you do not lose image quality) and upload it to your custom stamp order on rubberstampchamp.com
 I selected a 1"x2" stamp (found here) since my stationary is 4"x4.5".
For more stamp size options, click here.
Now the fun part...
Part 2: Creating Your Stationary
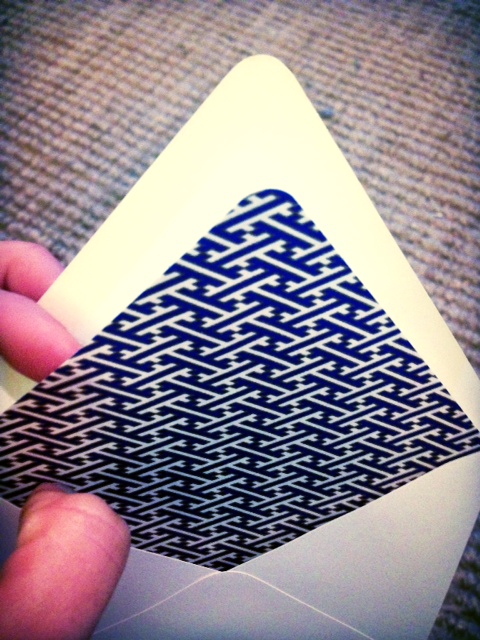
 First, line your envelopes. Place the envelope liner upside down and apply glue on the perimeter of the envelope flap. Slip the liner into the envelope and press down firmly. Repeat until all envelopes are lined.
 Next, grab your note cards, stamp, and embossing ink. Press your stamp into the ink pad a few times and stamp your note card.
 Sprinkle the embossing powder over the monogram. Make sure you completely cover the stamped area.
 Shake off the excess powder.
 Apply heat with the embossing gun to the monogram while keeping at least 5"-6" in between the note card and the gun (you don't want to burn it). The powder will start to rise. Once the entire monogram has risen and glazed over, allow it to set for a few seconds, and you're done!
You can use the embossing tools and your custom stamp on any fat service. I love adding the embossed look to my notebooks, too!
Annnnd.... I had to make myself a few set, of course!


I created my custom stamp with Photoshop (instructions below) and uploaded my design to Rubber Stamp Champ, here. It arrived within 5 business days.
Embossing supplies can be found at Michaels or Paper Source.
Part 1: Creating your monogram stamp


Save your file as a .jpg or .png (.png is my preference so you do not lose image quality) and upload it to your custom stamp order on rubberstampchamp.com

For more stamp size options, click here.
Now the fun part...
Part 2: Creating Your Stationary
 |
| Sorry I'm blurry. |


You can use the embossing tools and your custom stamp on any fat service. I love adding the embossed look to my notebooks, too!
Annnnd.... I had to make myself a few set, of course!


0 Comments:
Post a Comment
tell me what you think...